
How to Delete Audio in Premiere Pro
To delete an independent audio clip in Premiere Pro, simply select it in the timeline and then click on the Delete key (Backspace key) on your keyboard. To delete an audio clip that is linked to video footage, you will first need to unlink the audio clip from the video clip by right-clicking on it and then select “Unlink.” You can then delete it by pressing the Delete key (Backspace key) on your keyboard.
How to Delete Audio from Video in Premiere Pro
Deleting audio in Premiere Pro is not difficult but there are a couple of things you need to be aware of whenever you are trying to get rid of some audio in PP.
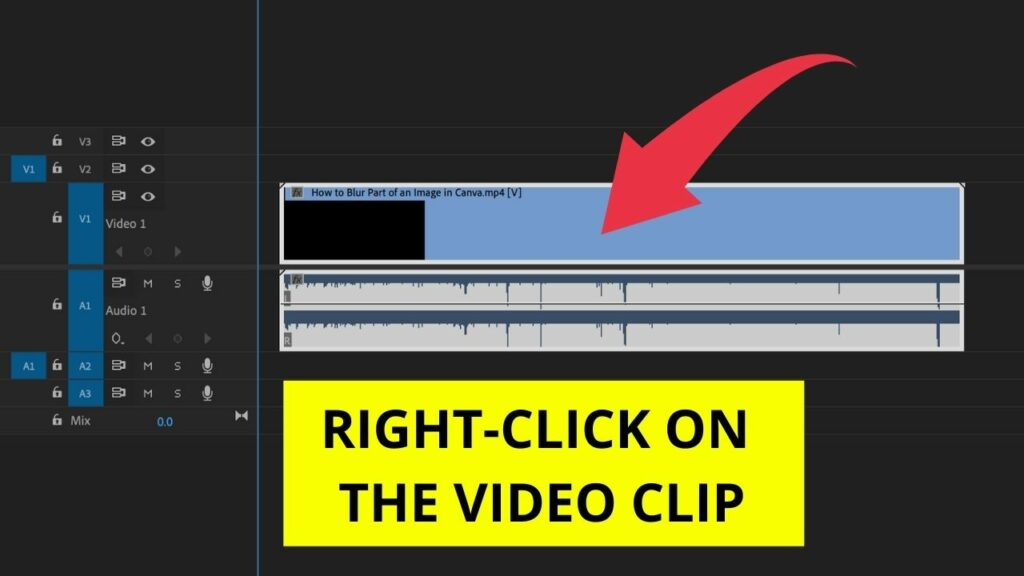
Most importantly, whenever you drag video footage into the timeline, given that the video footage contains audio, then what happens is that Premiere Pro will automatically link the video clip and the audio clip together.
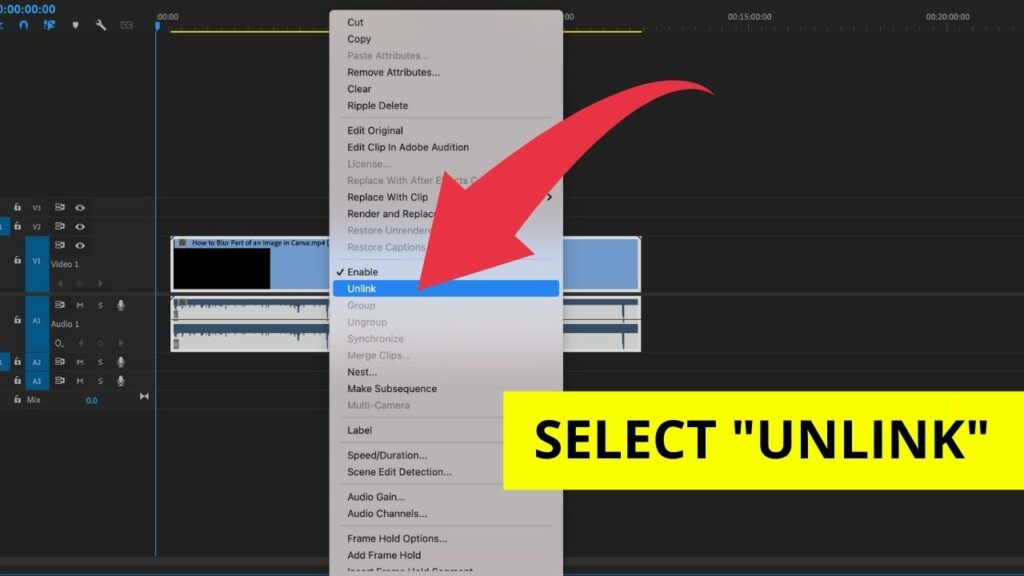
Now, if for some reason you would only want to delete the audio part of that footage, then you will first have to unlink the audio clip from the video clip. Below you find a step-by-step tutorial on how to go about this. It’s actually very simple.
Step 1: Right-Click on the Video Track
Step 2: Select “Unlink” to Detach the Audio Clip from the Video Clip
Deleting independent (single) Audio (Audio Clips) in Premiere Pro
In case you would like to delete audio that is NOT linked to any video clip, then deleting that audio is very straightforward and works as you might expect.
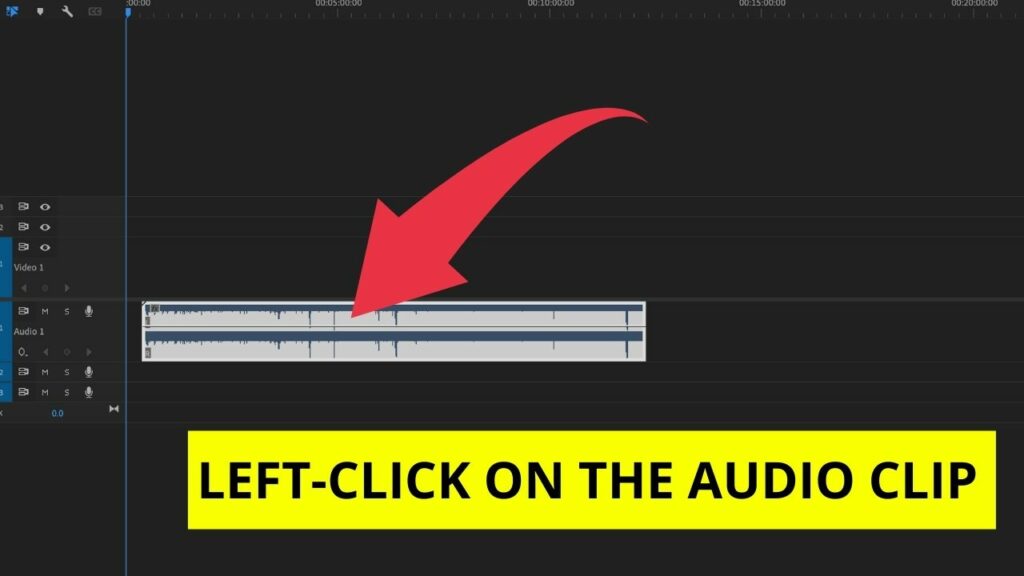
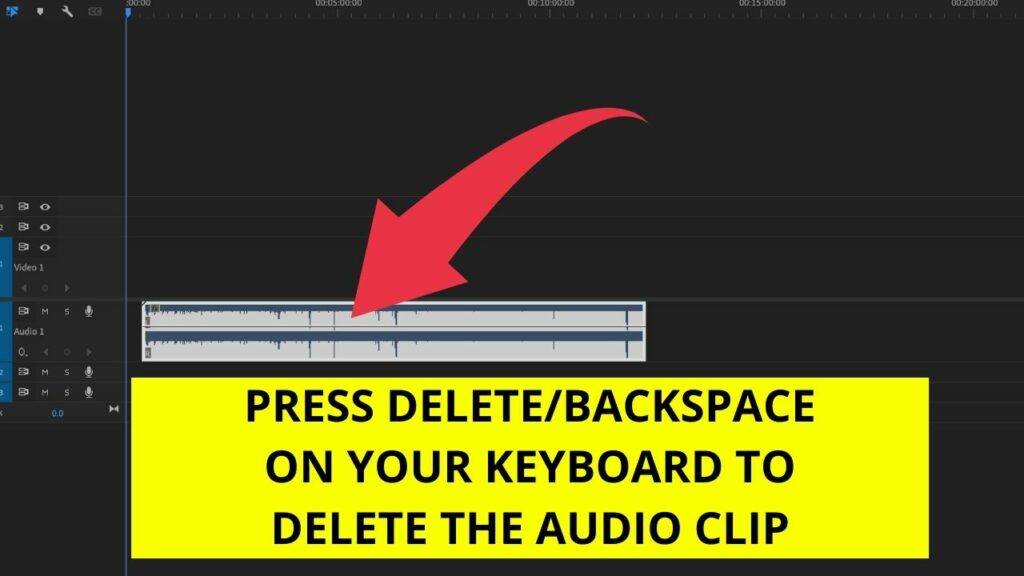
To delete an independent audio file, simply highlight it by left-clicking on it in the timeline and then press the Delete key on your keyboard.
This will of course not truly delete the audio from your Premiere Pro project, though. It will simply remove the audio file from the timeline and will not play anymore. In most cases, this is what you want.
However, if you would like to delete the audio file out of your project completely, then you would have to delete it in the Project panel rather than in the Timeline panel.
To do so, in the Project panel, left-click on the desired audio and then press the Delete Key (Mac) or Backspace key (Windows) on your keyboard to delete the audio.
Step 1: Select/Highlight the Audio Clip that you wish to delete
Step 2: Press Delete/Backspace on your keyboard to delete the audio clip from the timeline
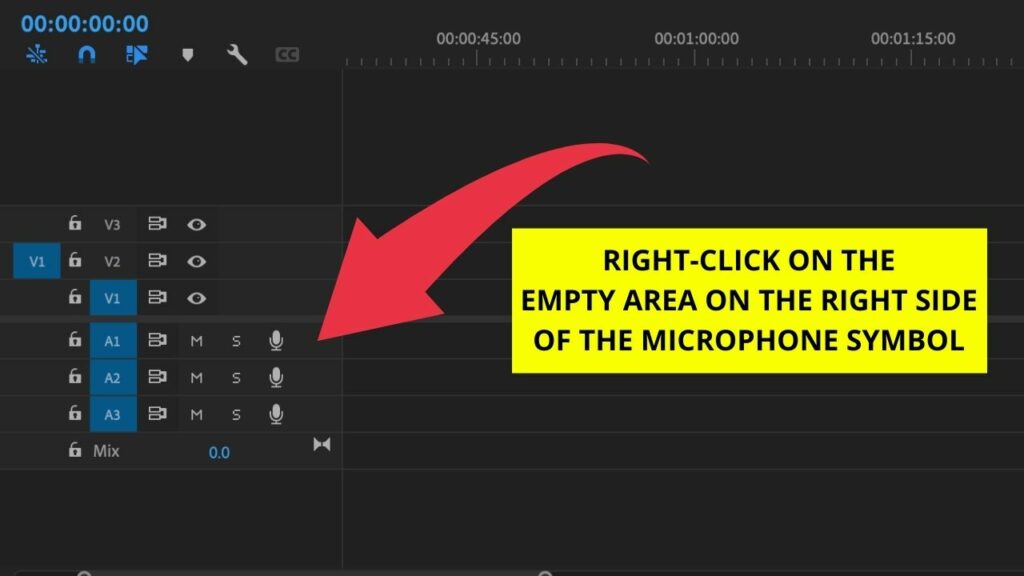
How to Delete an entire Audio Track in Premiere Pro
In some cases, you might want to delete an entire Audio Track in Premiere Pro rather than some specific audio. This can obviously also be done. Here’s how you do it:
Step 1: Click on the Audio track in the timeline (Click on the right-hand side of the microphone symbol!)
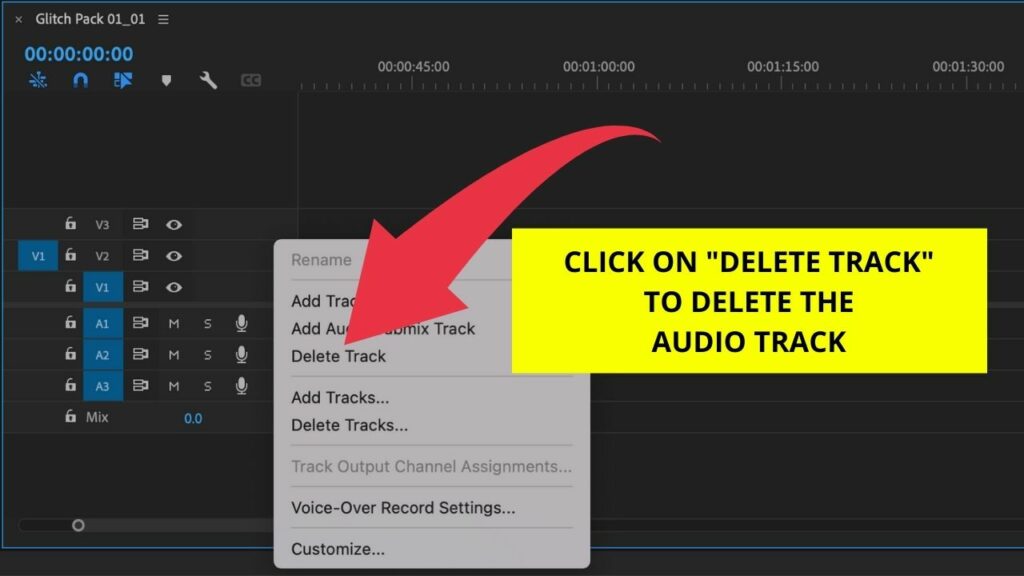
Step 2: From the dropdown menu, choose “Delete Track.”
cialis and adderall
Monday 8th of January 2024
cialis and adderall
cialis and adderall