Knowing how to DeNoise audio is absolutely crucial.
Because let’s be honest, we don’t always have the perfect recording environment in the palms of our hands.
That said, it is only normal that some of our recordings will be full of annoying (background) noise such as chatter, hiss, the annoying sound of your fridge, noise from outside, and so on and so forth.
Luckily, Audition can help you to clean up your audio files and to get rid of at least some of the noise.
This How-to-Guide explains the process of how to DeNoise any audio file or part of an audio file in Adobe Audition.
Step 1 Select Part of Your Audio Containing the Noise
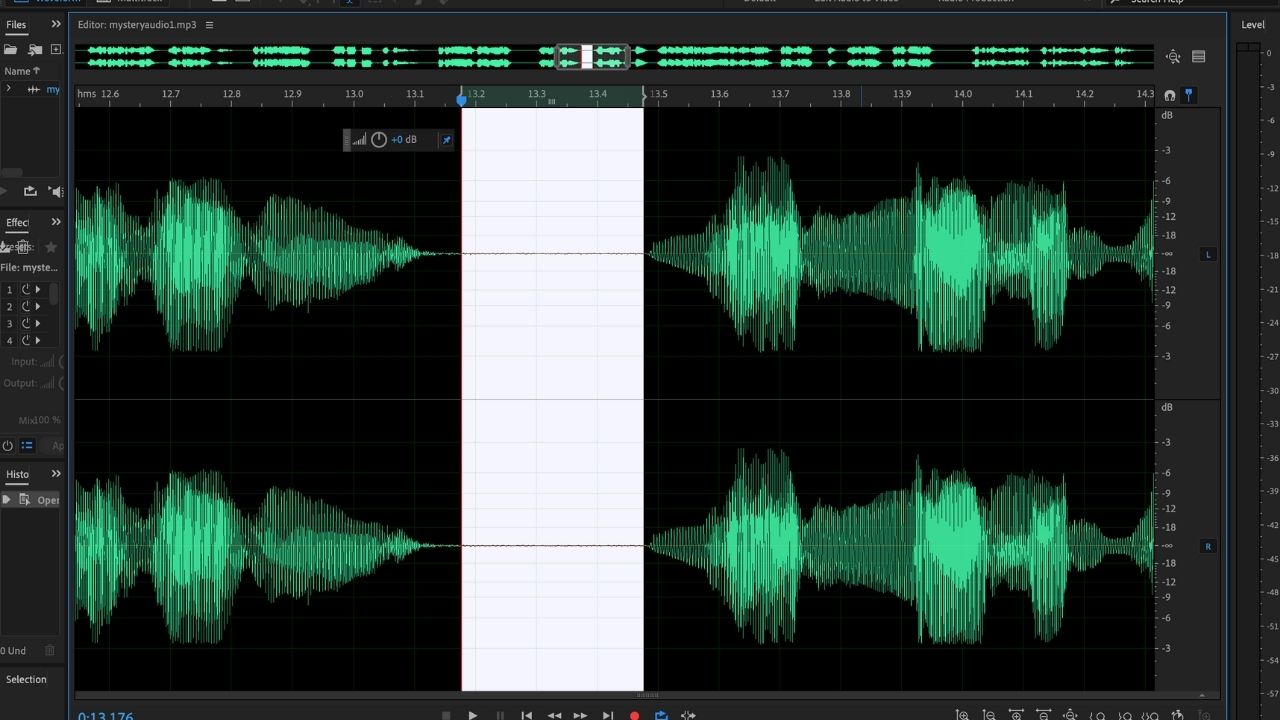
The idea here is that you will only select the part of the audio that contains ONLY the noise. That’s obviously not always possible. But in case you do have some constant noise such as hissing or some other background noise, try to find a part where only that very noise is present and select it by left-clicking and dragging. The part you selected will show in white.
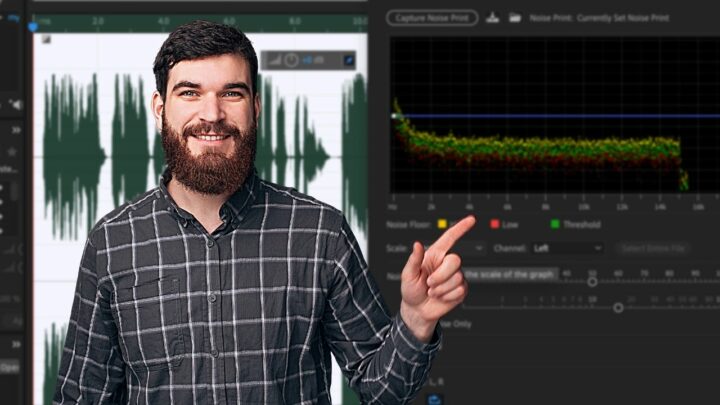
Step 2 Capture a Noise Print
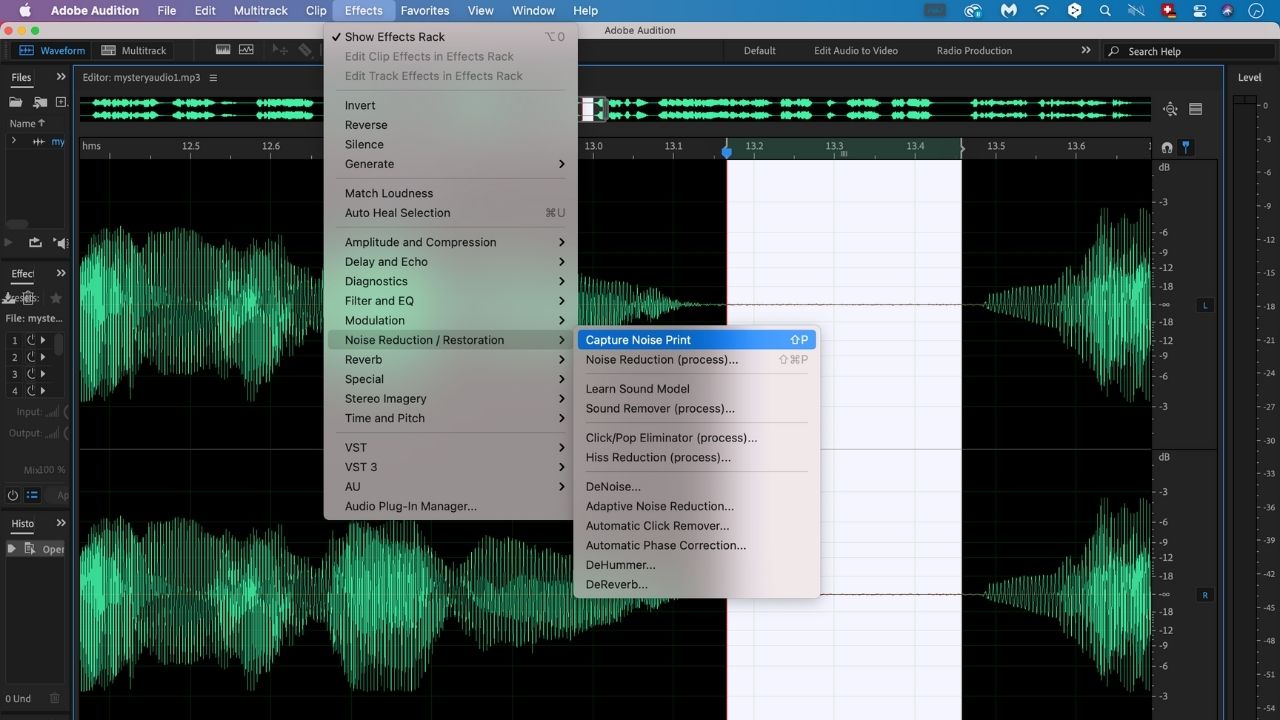
Take a noise print of the selected area by clicking on Effects, then choose Noise Reduction/Restauration and then click on “Capture Noise Print.” Audition will then make a noise profile.
Step 3 Select the Complete Audio Track
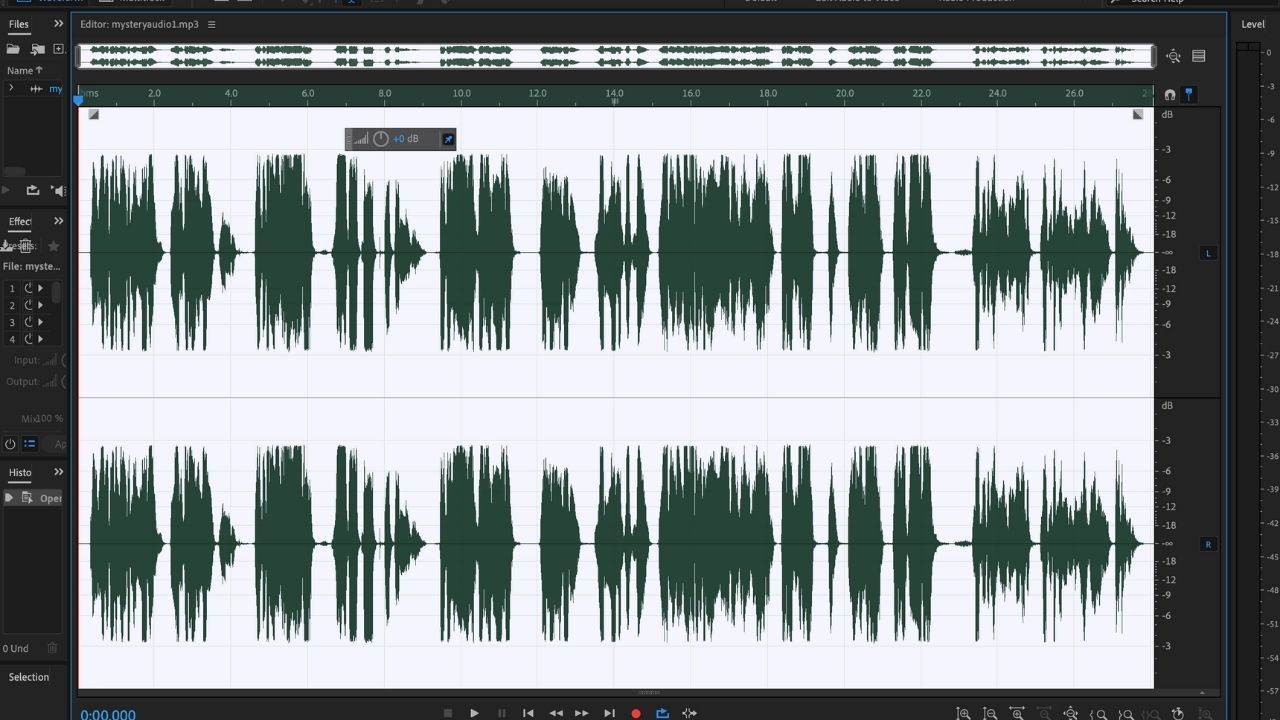
Whenever you are dealing with constant noise that affects your whole audio file, you will want to apply the noise profile that we created under Step 2 to the whole audio file. To do so, make sure to select the whole audio file by clicking on “Edit” in the main menu, then choose “Select” and then click on “Select All.” If you just want to apply the noise reduction effect to part of your audio, then just select the part of the audio that you want to be effected (= highlight that part in white by clicking&dragging with your mouse).
Step 4 Apply the Noise Reduction Part 1
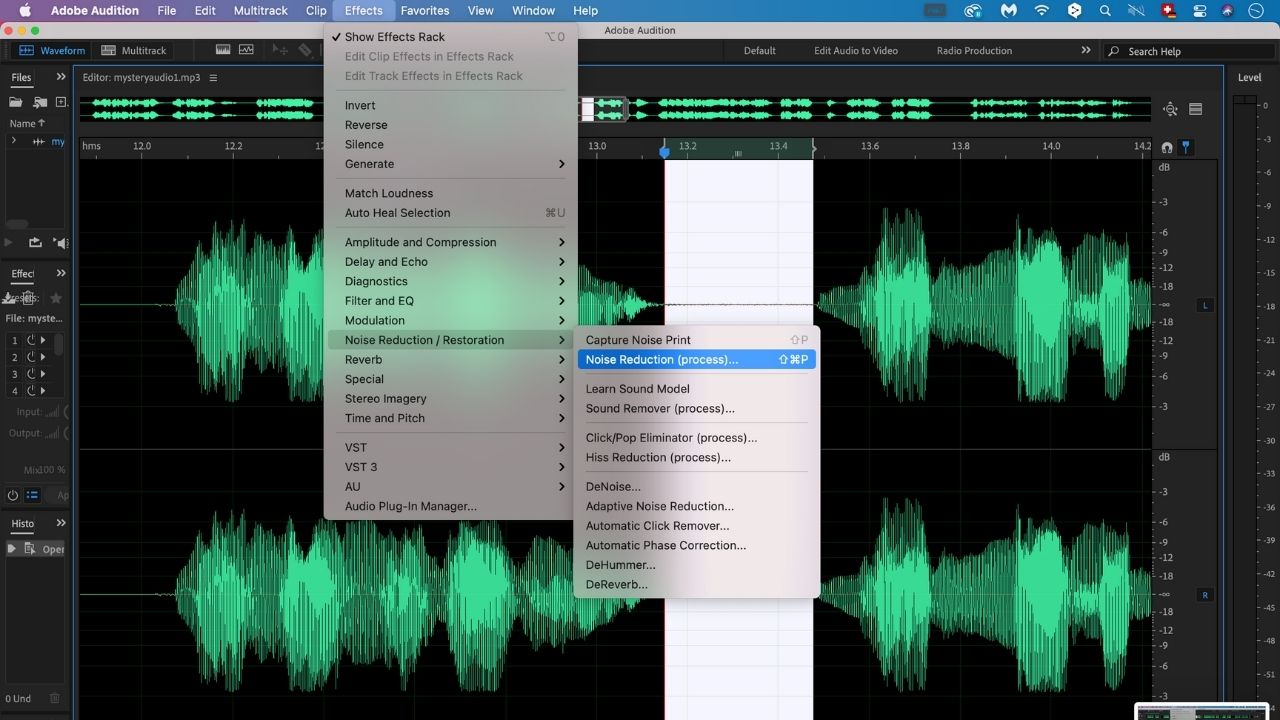
To apply the noise reduction effect, click on “Effects” in the main menu, then select “Noise Reduction/Restoration and the go for “Noise Reduction (process)…
Step 5 Apply the Noise Reduction Part 2
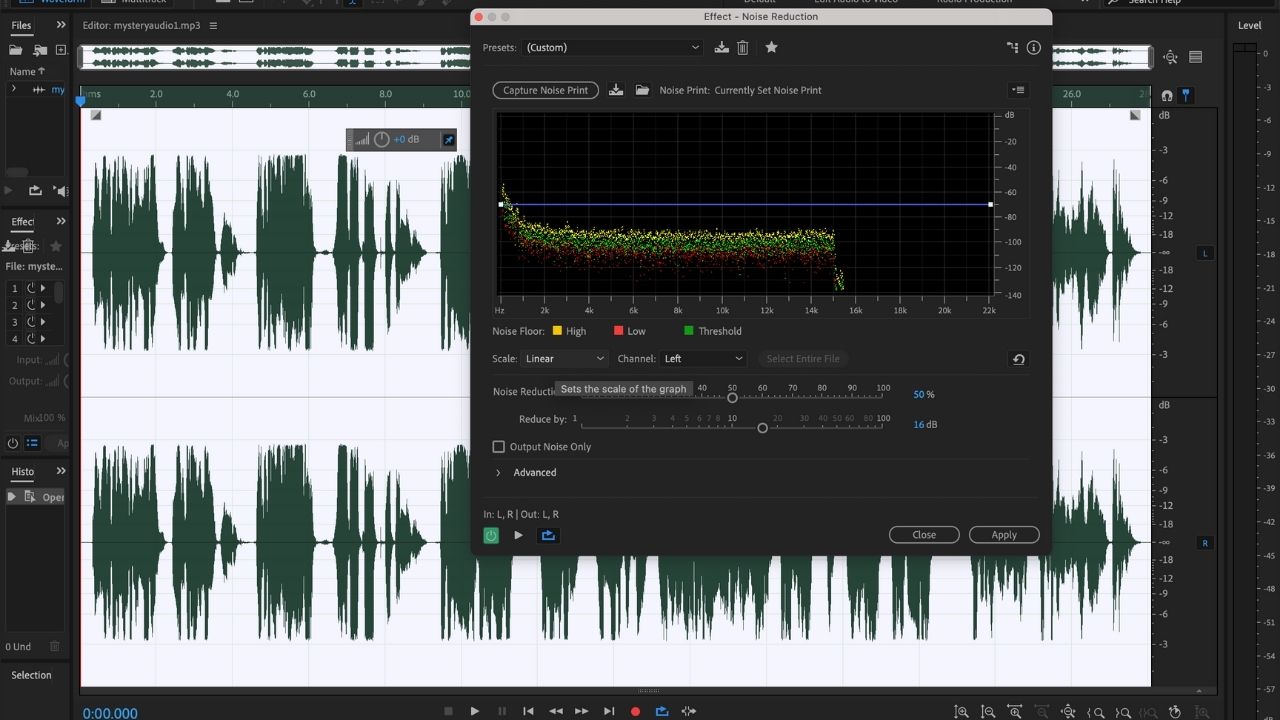
All that is left for you to do at this point is to click on “Apply.” The noise as identified by Audition in Step 2 will then be removed for your whole selection (as defined in Step 3).