To denoise audio in Premiere Pro, click on your audio file, then go to the Audio Track Mixer, click on the right-arrow in the top left corner (=Show/Hide Effects and Sends), then click on the first down-arrow on Track 1, then select “Noise Reduction/Restauration” from the dropdown menu and then choose “DeNoise.”
How to DeNoise Audio in Premiere Pro: Step-by-step Guide
This Step-by-step tutorial will lead you through the process of how to DeNoise your audio in Premiere Pro.
Step 1: Head over to the Audio Track Mixer
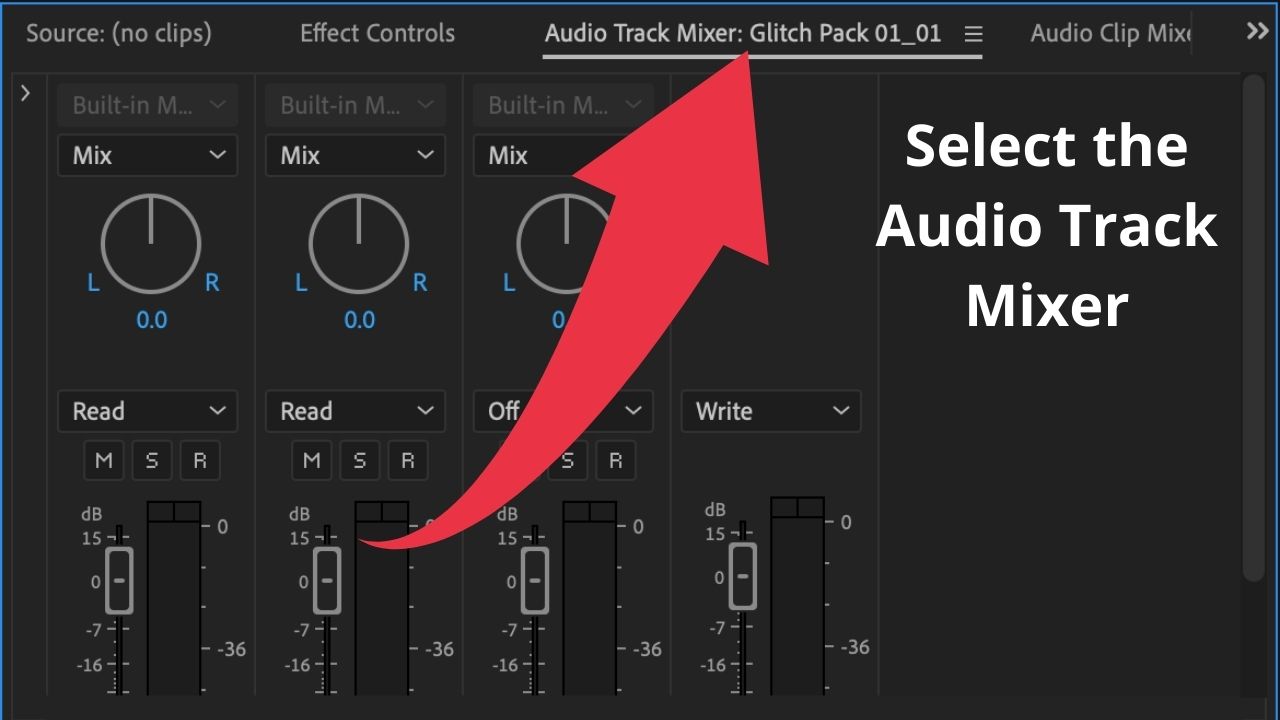
In the top left corner of the screen, make sure to select the Audio Track Mixer. In case you can’t see the Audio Track Mixer, click on “Window” in the main menu of Premiere Pro and select “Audio Track Mixer.”
Step 2: Click on the left-arrow in the top left corner of the screen
Now, click on the right-arrow in the top left corner of the Audio Track Mixer Window to “Show the Effects and Sends.”
Step 3 Click on the down-arrow on your desired track to insert an effect
Each track has its own Effects section. That said, if you insert an effect (= in our case this would be the DeNoise effects), then this effect will be applied to ALL the audio that is on the track. For instance, if you do have your voiceover audio on Track 1 and would like to DeNoise the whole Voiceover audio, you would click on the down-arrow on Audio Track 1.
Step 4 Select Noise Reduction/Restoration
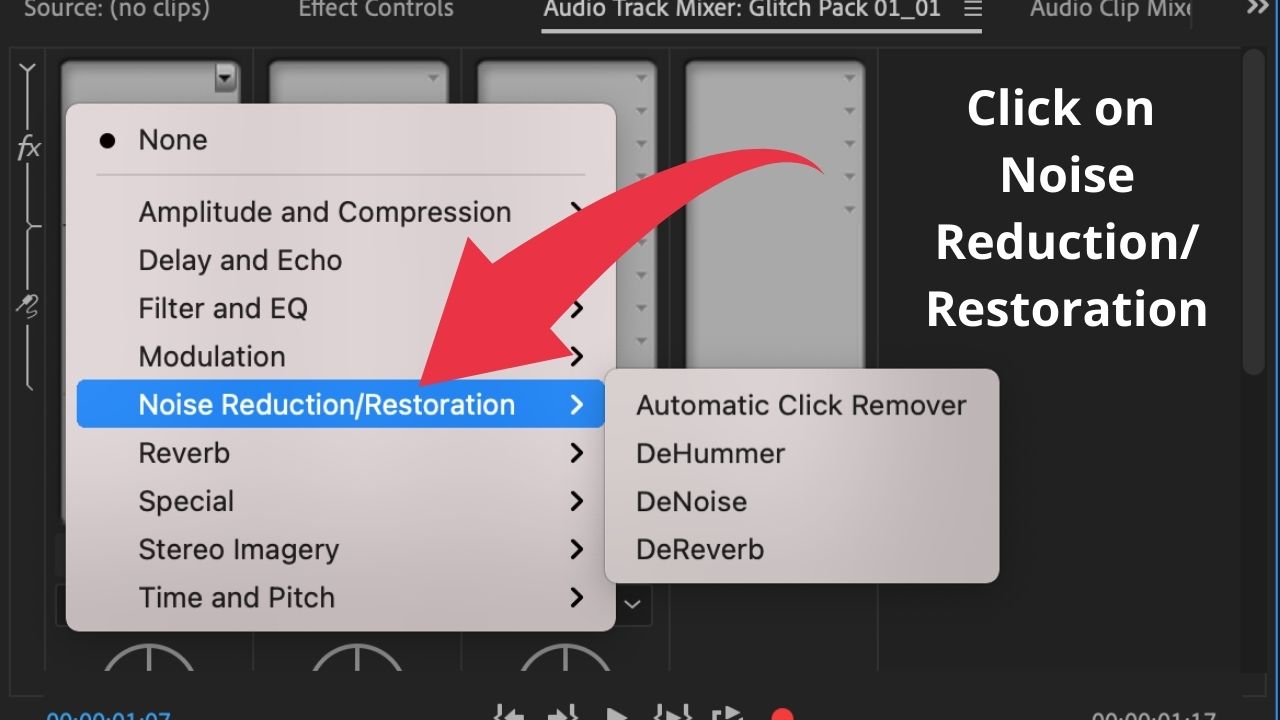
From the Dropdown menu, simply select “Noise Reduction/Restoration
Step 5 Click on “DeNoise”
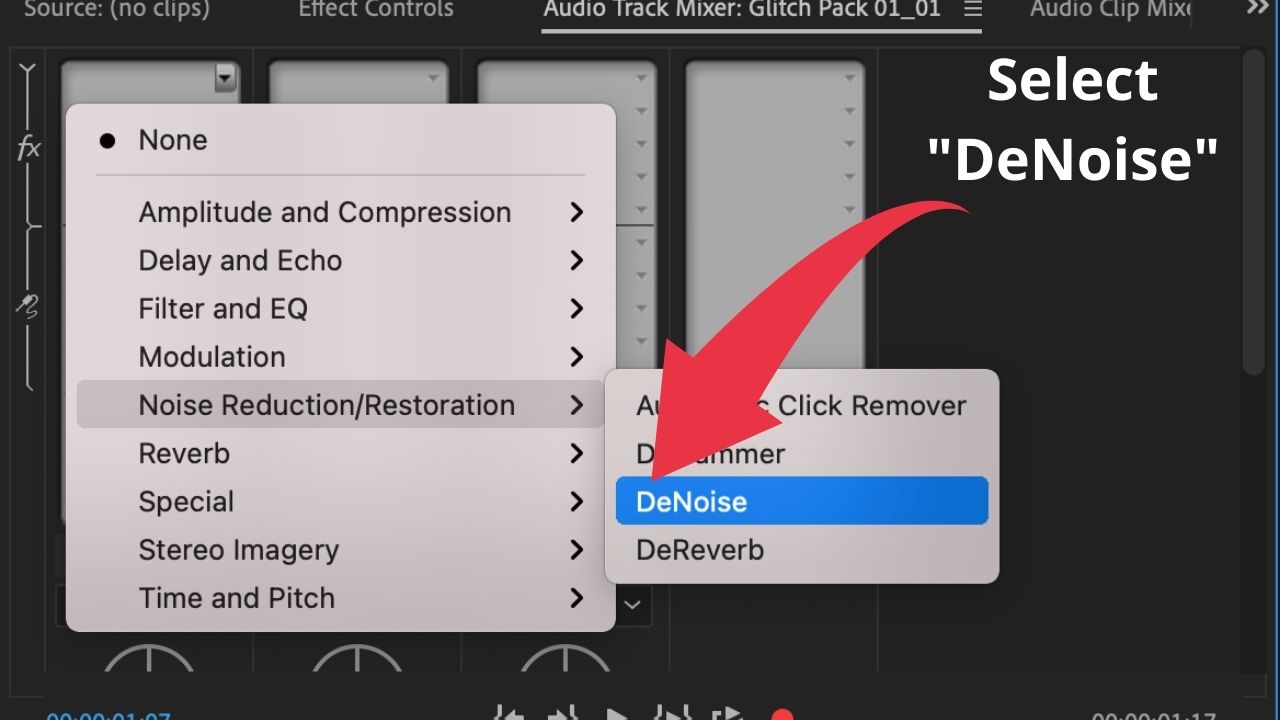
Select “DeNoise” to equip your track with the DeNoise effect.
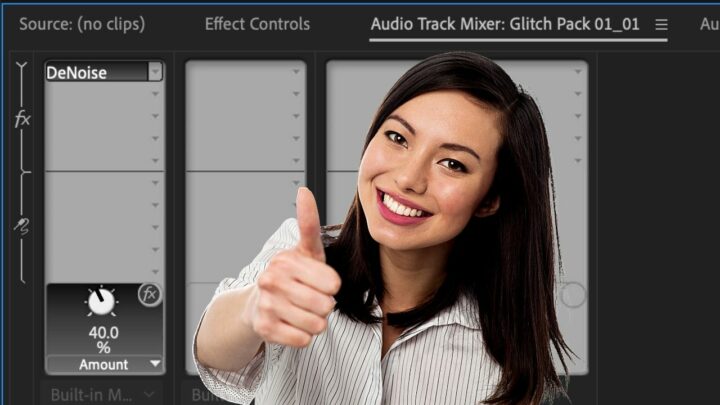
Step 6 Adjust the DeNoise fader
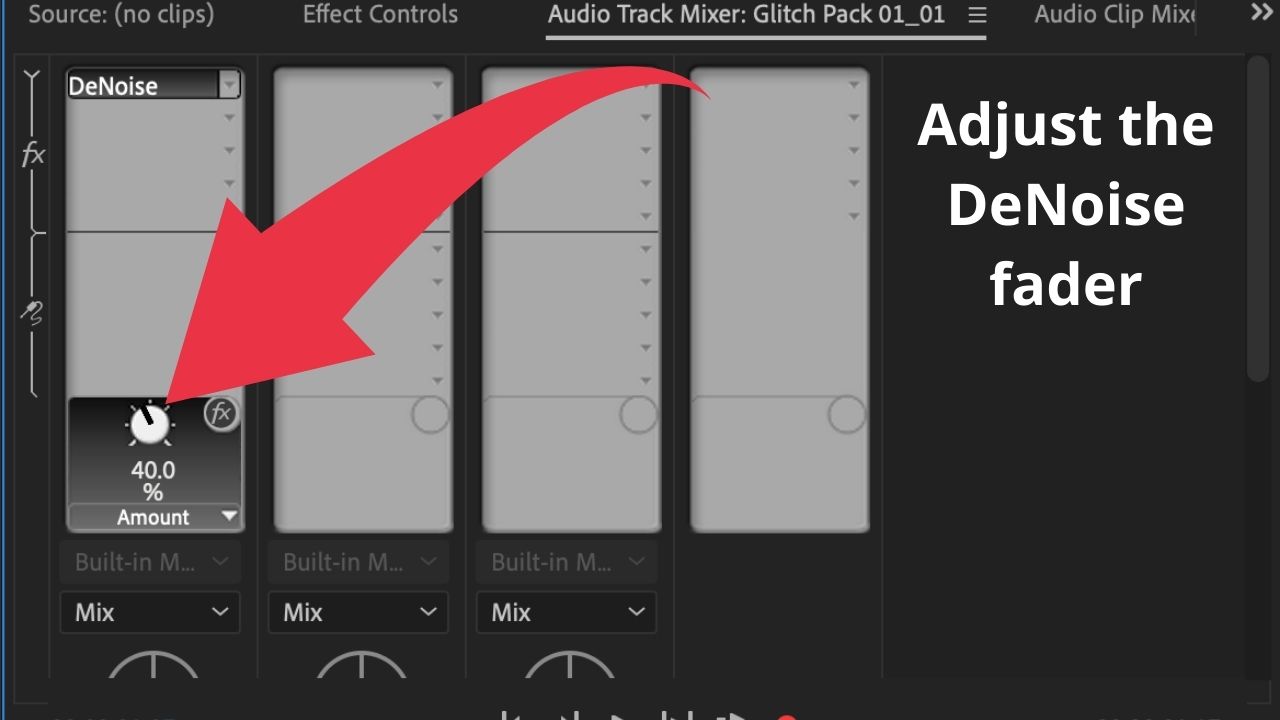
In order to get the best results, you will need to play around with the DeNoise fader. The higher you will set the threshold, the lower the noise will be. However, the higher you will set it, the more impacted your voice will get as well. That said, depending on the nature of the audio, your setting here can be drastically different. I usually go with something around 10%, as this usually does not distort the audio itself and removes a pretty good amount of the (background) noise. Trust your ears and listen to your audio both with headphones and without headphones to get the best results!