
Slowing down videos or parts of your videos in Premiere Pro is very simple and is usually a matter of a few clicks.
Without further ado, let’s dive right into it!
How to Slow Down a Video in Premiere Pro
- Right-click on the video clip in the timeline
- Select Speed/Duration
- Adjust the speed (everything lower than 100% will slow down your video)
How to Slow Down a Video in Premiere Pro — Step-by-step Guide
Step 1: Right-click your video footage in the timeline
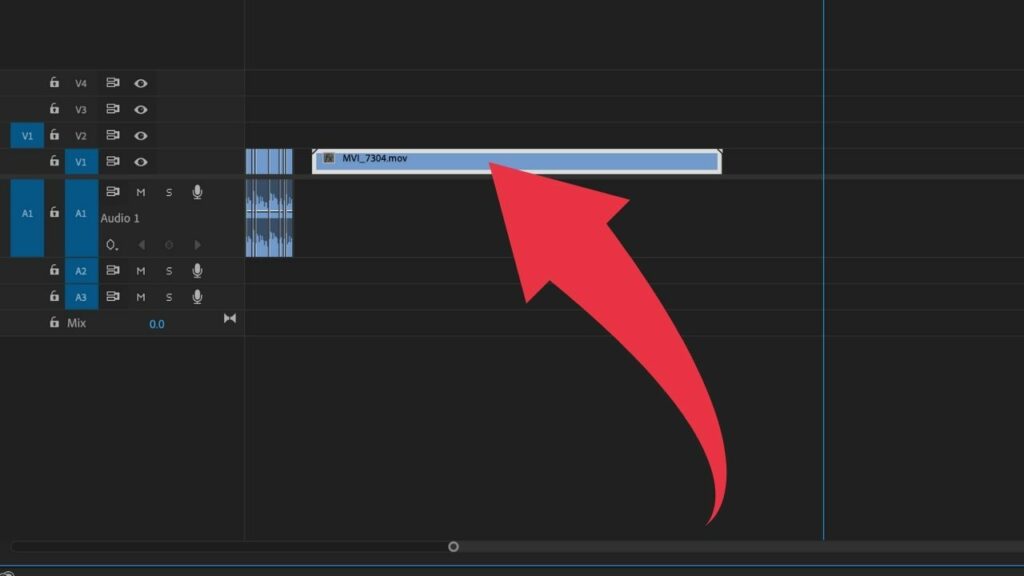
Click on your video in the timeline. Please be aware that if your video is linked to an audio clip, then the audio will be slowed down as well. To prevent this, first “Unlink” the audio clip from the video clip and only then tackle Step 1 as outlined above.
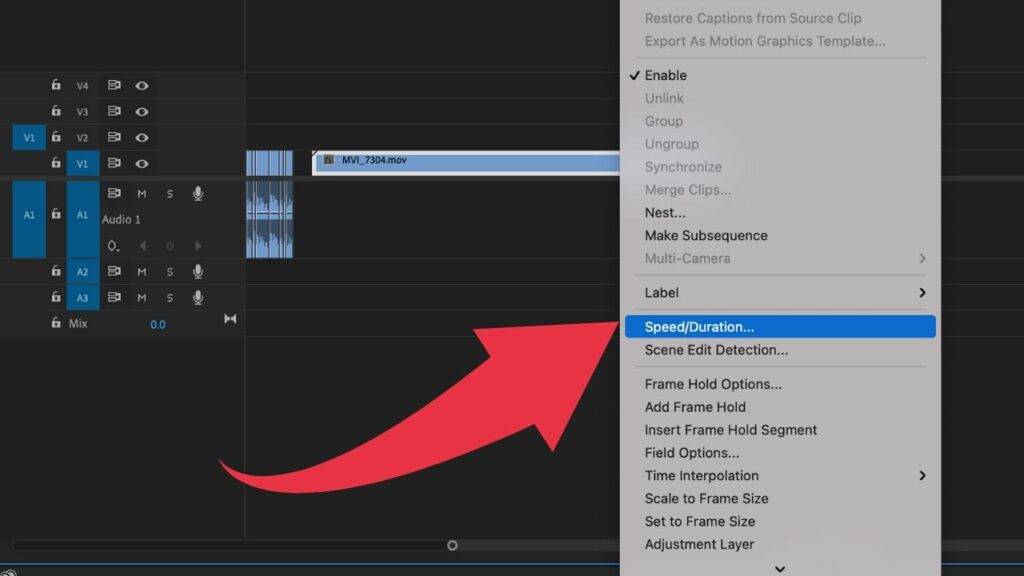
Step 2: Select Speed/Duration from the dropdown menu
Step 3: Adjust the speed setting
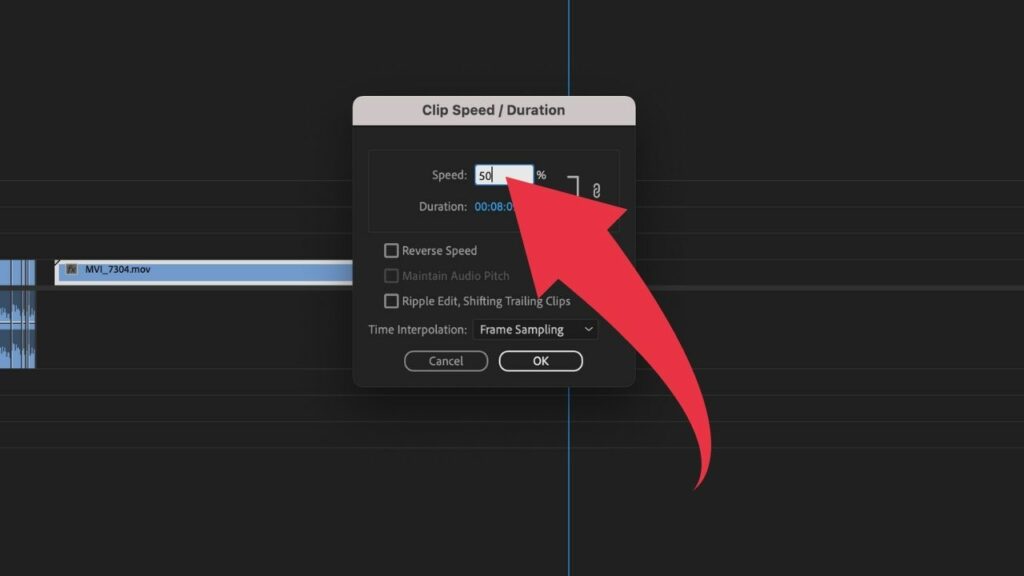
The standard speed is 100%. That means, to slow down your video footage, you will have to choose a value below 100%. For instance, when adjusting the speed to 50%, your video clip will play at half speed and will be twice as long as before.
Slowing Down Video Clips in Premiere Pro without Changing the Speed of the Linked Audio Clip
One problem you might face when slowing down a video clip in Premiere Pro is that not only the video footage will play back slower but also the audio (if any is linked) will play at a lower speed.
This usually results in heavily distorted audio. And more often than not, this is probably NOT what you want.
In most cases, you would simply want to remove the linked audio altogether, especially if your audio is just a voiceover track. In that case, before you actually slow down your video clip, you should right-click on your video clip and then choose “Unlink.”
After that, simply click on the audio clip and easily remove it by pressing Delete/Backspace on your keyboard.
But why do I need to unlink the track?
Well, if you don’t separate the audio clip from the video clip in Premiere Pro, then what happens is that both the video clip and the audio clip will be deleted when you press Delete/Backspace on your keyboard.
Slowing Down Video Clips to Insert More Audio
A nice little “hack” that I find myself using pretty often is to slow down static video footage in order to add more audio (voiceover audio in tutorials, for instance) without having to record any additional video footage.
Let me explain.
Let’s say I did a tutorial on “How to Colorgrade Footage in Premiere Pro.”
Then, after finishing up the video, before actually publishing it, it suddenly comes to my mind that I forgot to add some really important information in the middle of the video.
Maybe that piece of information is just a sentence or two. But the problem is that I can’t just simply record this audio and easily add it to the video because there is obviously no “free” space in the video.
And this is where this nice little hack comes in.
To make some space in your video, you can slow down a static part of the video (a static part of the video is simply a part of the video where nothing is moving. In a tutorial, for instance, this could be simply the display of the software or some menu in it) by changing the video speed from let’s say 100% to 50% (half speed = selected video portion will be 2x as long).
Like this, you can easily insert some more audio (in this case just 1-2 additional sentences) without actually having to record more video footage.
Now that you know how to slow down a video in Premiere Pro, you actually also know how to speed up a video in Premiere Pro.
Why’s that?
Well, as you might have guessed it by now, it works in the exact same way. The only thing that is different is that when selecting Speed/Duration, you would need to input a value GREATER than 100% instead of entering a value below 100%.
tadalafil generic india
Monday 15th of January 2024
tadalafil generic india
tadalafil generic india